


Milk is one of the best things you can add to a cup of coffee. The mild creaminess of steamed milk perfectly balances the acidity of a full-bodied cup of coffee and adds just the right amount of heartiness. If you’re a fan of lattes or cafe au lait and want to make them at home, this guide will tell you exactly how to steam milk at home to create those perfect cups of coffee.
What’s the Difference Between Steaming Milk and Frothing Milk
The fundamental difference between steaming and frothing milk lies in how much air is pulled into the milk. Frothing milk requires a great deal of air to be pulled into the milk while heating it to create lots of bubbles and volume. Steamed milk, on the other hand, pulls less air into the milk while steaming, creating smaller bubbles that form “microfoam” which gives lattes that perfectly velvety mouthfeel.
What Type of Milk is Best for Steaming?
Whole dairy milk is preferred by baristas far and wide due to its fat content. The high-fat content allows baristas to achieve that silky microfoam that makes a delicious latte. However, whole dairy milk isn’t the only type of milk you can steam or froth. Skim milk can be steamed easily, though it will produce larger foam bubbles than whole milk does.
You can also use alternative milk products such as almond milk, oat milk, and coconut milk. We recommend purchasing brands that make these alternative milk products specifically for baristas as they will steam and foam much better than others.
Learn more: 5 Best Oat Milks for Coffee | 8 Best Non-Dairy Milks for Coffee
What Equipment Do I Need to Steam Milk?
Having the right equipment is vital to creating a great latte. Though most coffee shops use professional espresso machines to create your favorite beverages, there are other ways to steam milk at home.
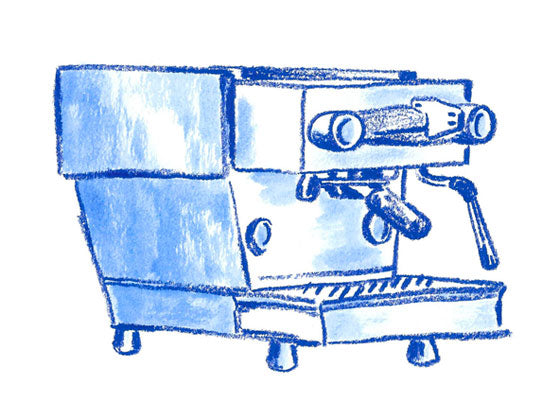
Espresso Machine with Steam Wand
Using an espresso machine with a steam wand is one of the easiest ways to create a latte at home. It’s important to make sure you choose a machine with a steam wand; many home espresso machines only pull shots. Make sure the steam wand has decent pressure so it can heat the milk quickly and produce those microscopic bubbles necessary for good foam.
Learn more: How to Choose a Home Espresso Machine
Milk Frothing Pitcher
Espresso machines can be an investment, but thankfully there are other tools you can use to create steamed milk for your coffee. Milk frothing pitchers are a convenient and affordable way to make delicious steamed milk. Similar to electric kettles, all you need to do is pour the milk into the pitcher and turn it to your desired setting.
Hand-Held Frother
If you want a less bulky appliance, as well as one that can be used for more than frothing milk, consider purchasing a hand-held frother. These motorized whisks can create velvety foam in minutes and can be stored in a kitchen drawer when you’re done. Keep in mind that you need to heat your milk before using this frother, otherwise you’ll never get the bubbles you’re looking for.
Steaming Pitcher
If you’re using an espresso machine or a hand-held frother, make sure you use the right kind of milk steaming pitcher. We recommend using a stainless steel pitcher with a handle so you don’t scald yourself while steaming the milk. Use a 12-ounce pitcher for drinks that are 8 ounces or smaller; otherwise, use a 20-ounce pitcher for any drinks larger than 8 ounces. The extra space ensures the milk stays in the pitcher and doesn’t splash while frothing.
How to Steam Milk for a Latte
Step One: Pour Milk
The first step to steaming milk is to pour cold milk into your steaming pitcher. Remember, steamed milk increases in volume, so you’ll need to use less than you think. As a general rule, you should pour the milk about a finger’s width under the spout.
Step Two: Introduce the Steam Wand
Submerge the tip of the steam wand just under the surface of the milk and turn the steam wand on. The steam wand will introduce air into the milk to help create bubbles and volume. This step only takes a few brief seconds, at most, to introduce the right amount of air into the milk.
If using a handheld frother, the method is very similar. Dip the tip of the frother just under the surface to introduce air into the milk. It may take up to a minute to notice an increase in volume with this method.
Step Three: Create a Whirlpool
Move the steam wand further under the surface of the milk until it creates a “whirlpool” effect with the milk. This step is incredibly important as it not only steams the rest of the milk but also evenly distributes the foam. You can also create the whirlpool effect with a handheld frother using this technique.
Step Four: Mind the Temperature
If your steam wand does not have preset temperatures, you’ll need to monitor how warm your milk is getting while being steamed. Cup your hand around your steaming pitcher to feel the temperature of the milk, and stop steaming once the pitcher becomes almost too hot to touch–right around 140F. Remember, stop the steam wand before you move the pitcher. Otherwise, the steam wand will spray hot milk everywhere!
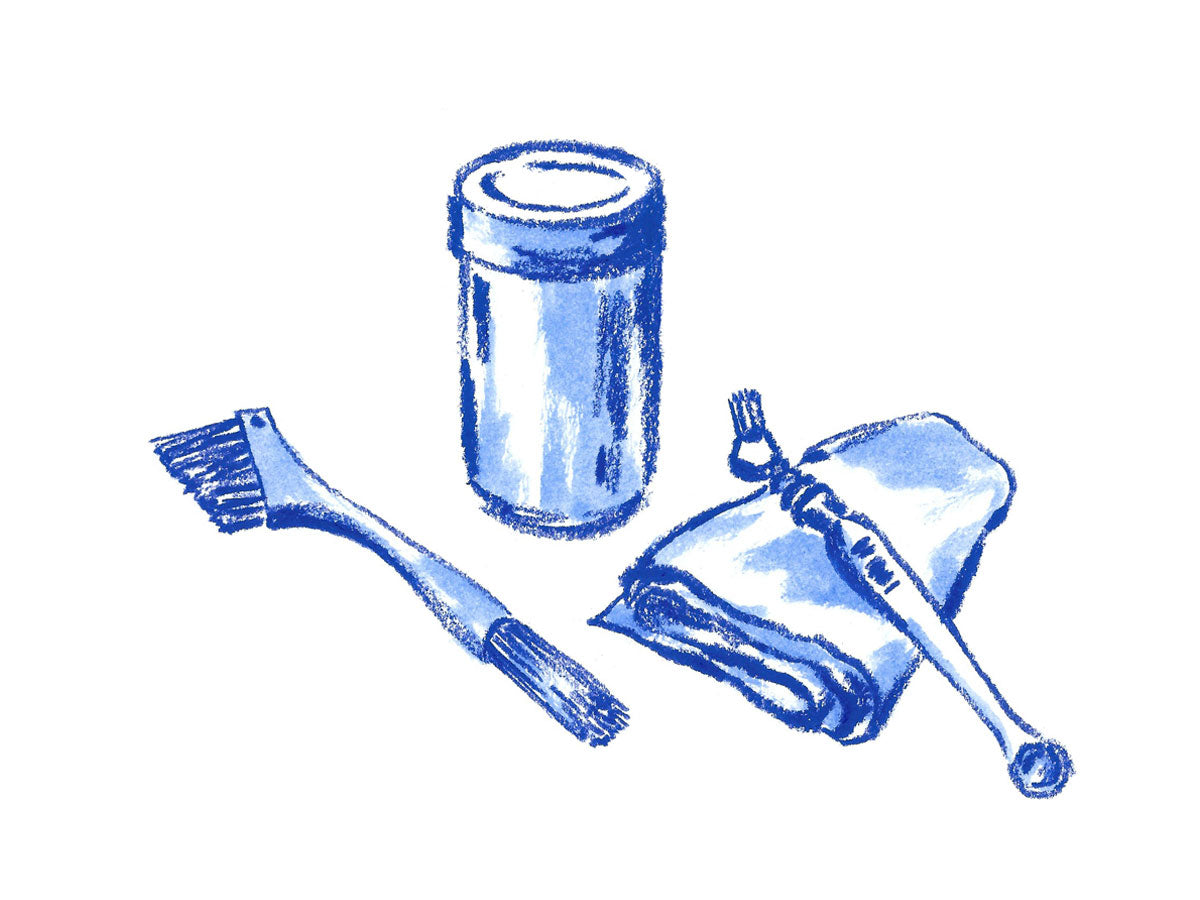
Step Five: Clean and Purge the Steam Wand
Once the steam wand has been turned off, remove the pitcher. Use a damp cloth to clean any leftover milk from the steam wand. You’ll want to do this quickly, as hot milk can cool and dry solidly to the steam wand and be incredibly difficult to clean off. Turn the steam wand on for a few seconds to purge condensation and milk residue, and turn it off once more. Remember, keep your hands away from the steam wand or you will be scalded.
Step Six: Pour
Once you’ve finished steaming, it’s time to pour the milk into your coffee! Start high when pouring, about six inches above the cup, to ensure the steamed milk fully incorporates with the coffee or espresso in the cup.
Things to Avoid When Steaming Milk
Here are some things to keep in mind when steaming milk. Avoid these common mistakes to ensure you make perfect foam every time.
Pulling Too Much Air
Pulling air into steamed milk is a very quick process, taking only a few seconds to create that perfect texture. If you take longer, you’ll create larger bubbles that will weigh down your milk and ruin your foam. If you do like your milk on the foamy side, you should pull air for five seconds at most before fully submerging the steam wand.
Pulling Air Too Late
Remember to pull air into the milk first before completely submerging the steam wand into the milk. Trying to make foam with a steam wand after the milk is warm is much more difficult than doing so at the start of the process.
Steaming for Too Long
Heating the milk too much breaks down the foam you worked hard to create and it also doesn’t taste very good. Be mindful of the temperature of the milk as you’re steaming it. Remember, stop steaming when the pitcher is almost too hot to touch, about 140F.
Touching the Steam Wand
The steam wand itself on an espresso machine is incredibly hot, and so is the steam it produces. Be sure not to touch the steam wand directly with your hand, especially when it’s on.
Waiting Too Long to Pour
Pour your steamed milk as soon as you’re done. Otherwise, the foam will separate from the milk as it cools and won’t incorporate well with your coffee or espresso.
We hope this guide has given you the knowledge and confidence you need to steam milk at home. No matter your preferred roast or blend, milk preference, or drink style, we’re sure you’ll be able to craft the perfect latte or cappuccino at home using this milk steaming guide.
You might also like: