


Coffee cupping is a sacred ritual in the coffee world. It is a globally standardized method for assessing the fragrance, aroma, and flavor of coffee. But regardless if you’re a coffee professional or not, it’s a great way to build your coffee palate and observe coffee’s vast amount of nuance. In this guide, we’ll show you how to conduct a coffee cupping in your own home, what supplies you’ll need, and what qualities to look for when evaluating a coffee.
What is a coffee cupping?
A coffee cupping (also known as a coffee tasting) is a globally standardized method for evaluating the qualities of a coffee. It’s a ritual held by every contributor to the coffee supply chain: producers, importers/exporters, roasters, and baristas. It’s a method used for the evaluation of coffee but also used as quality control to ensure a coffee roast is tasting as great as it can be.
Every coffee on the cupping table is brewed in 2-3 separate cupping bowls. This redundancy helps to prevent any mishaps from influencing the assessment of a coffee. And usually, multiple coffees are assessed within the same cupping. This comparison helps to give the tasters context to use as a baseline.
Coffee cuppings have increased in popularity with the rise of third-wave coffee shops. Customers are becoming more knowledgeable of coffee origins, varietals, and processing and how they impact flavor, as they do wine. So it’s not uncommon for lovers of coffee to perform their own coffee cuppings at home for family and friends.
How to taste coffee flavor notes
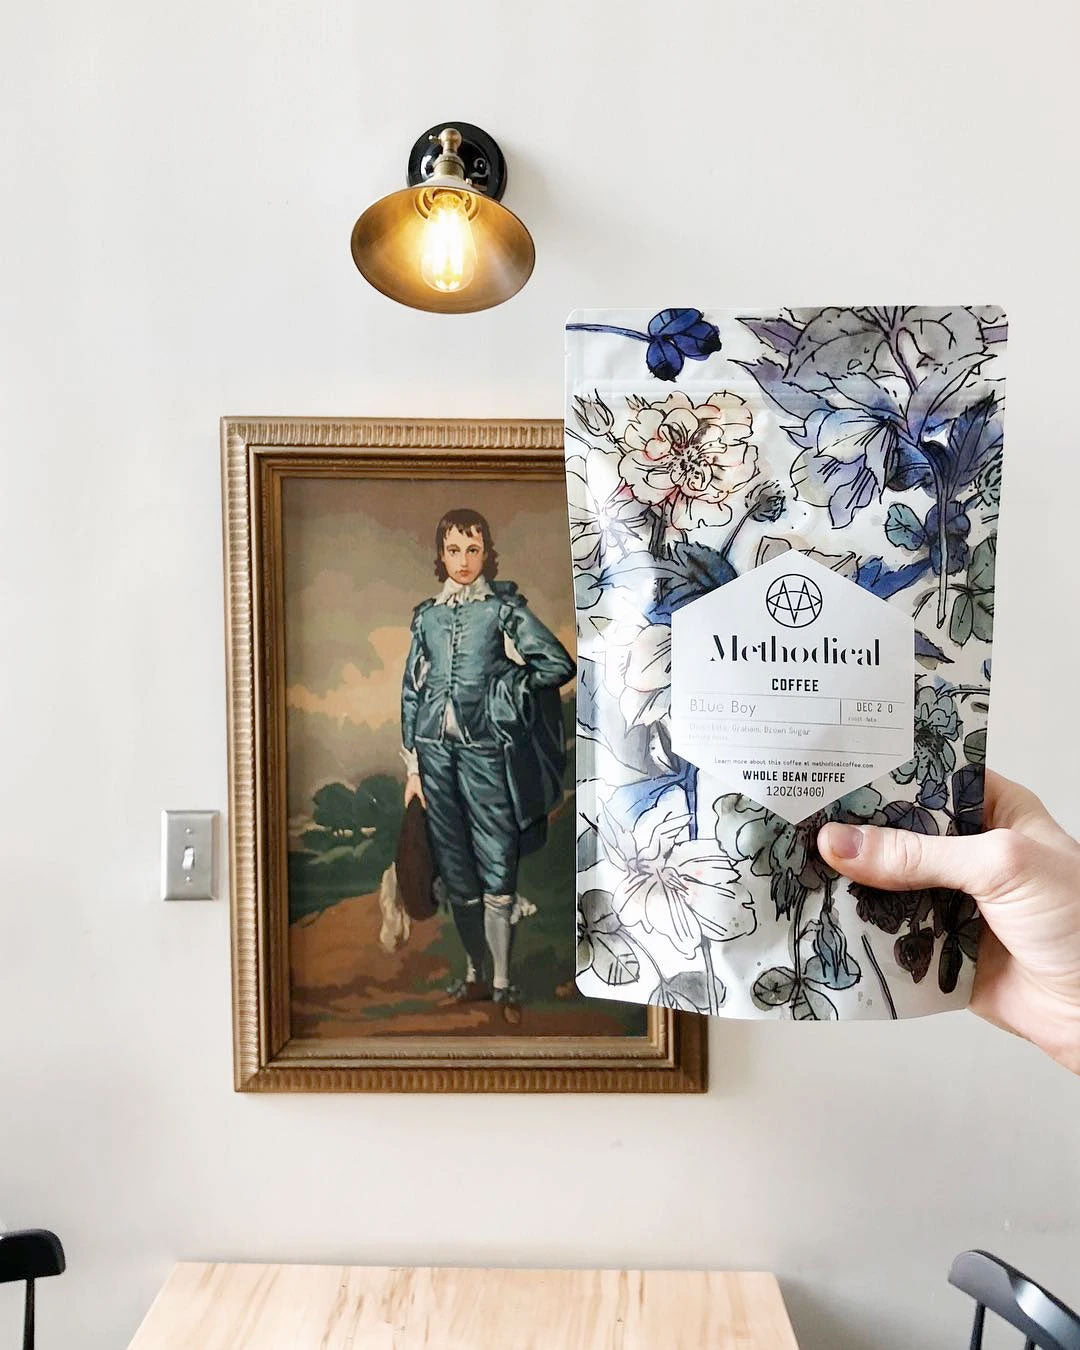
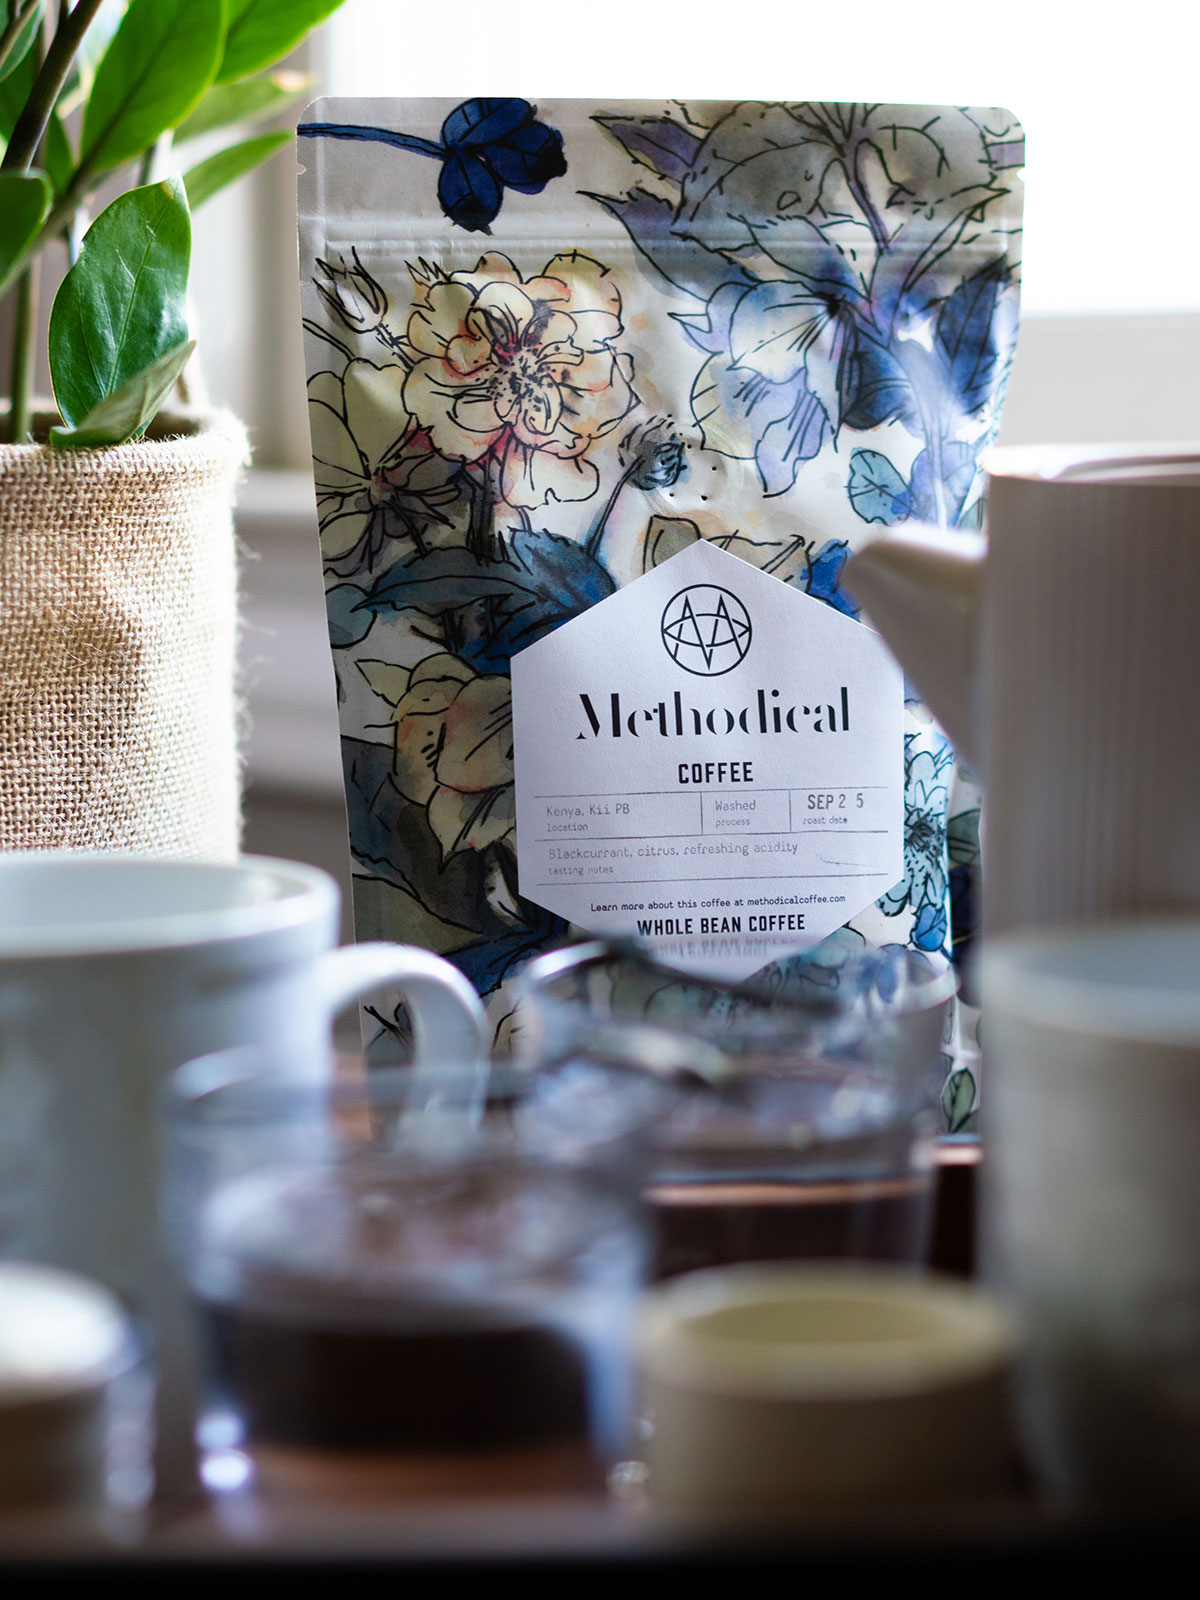
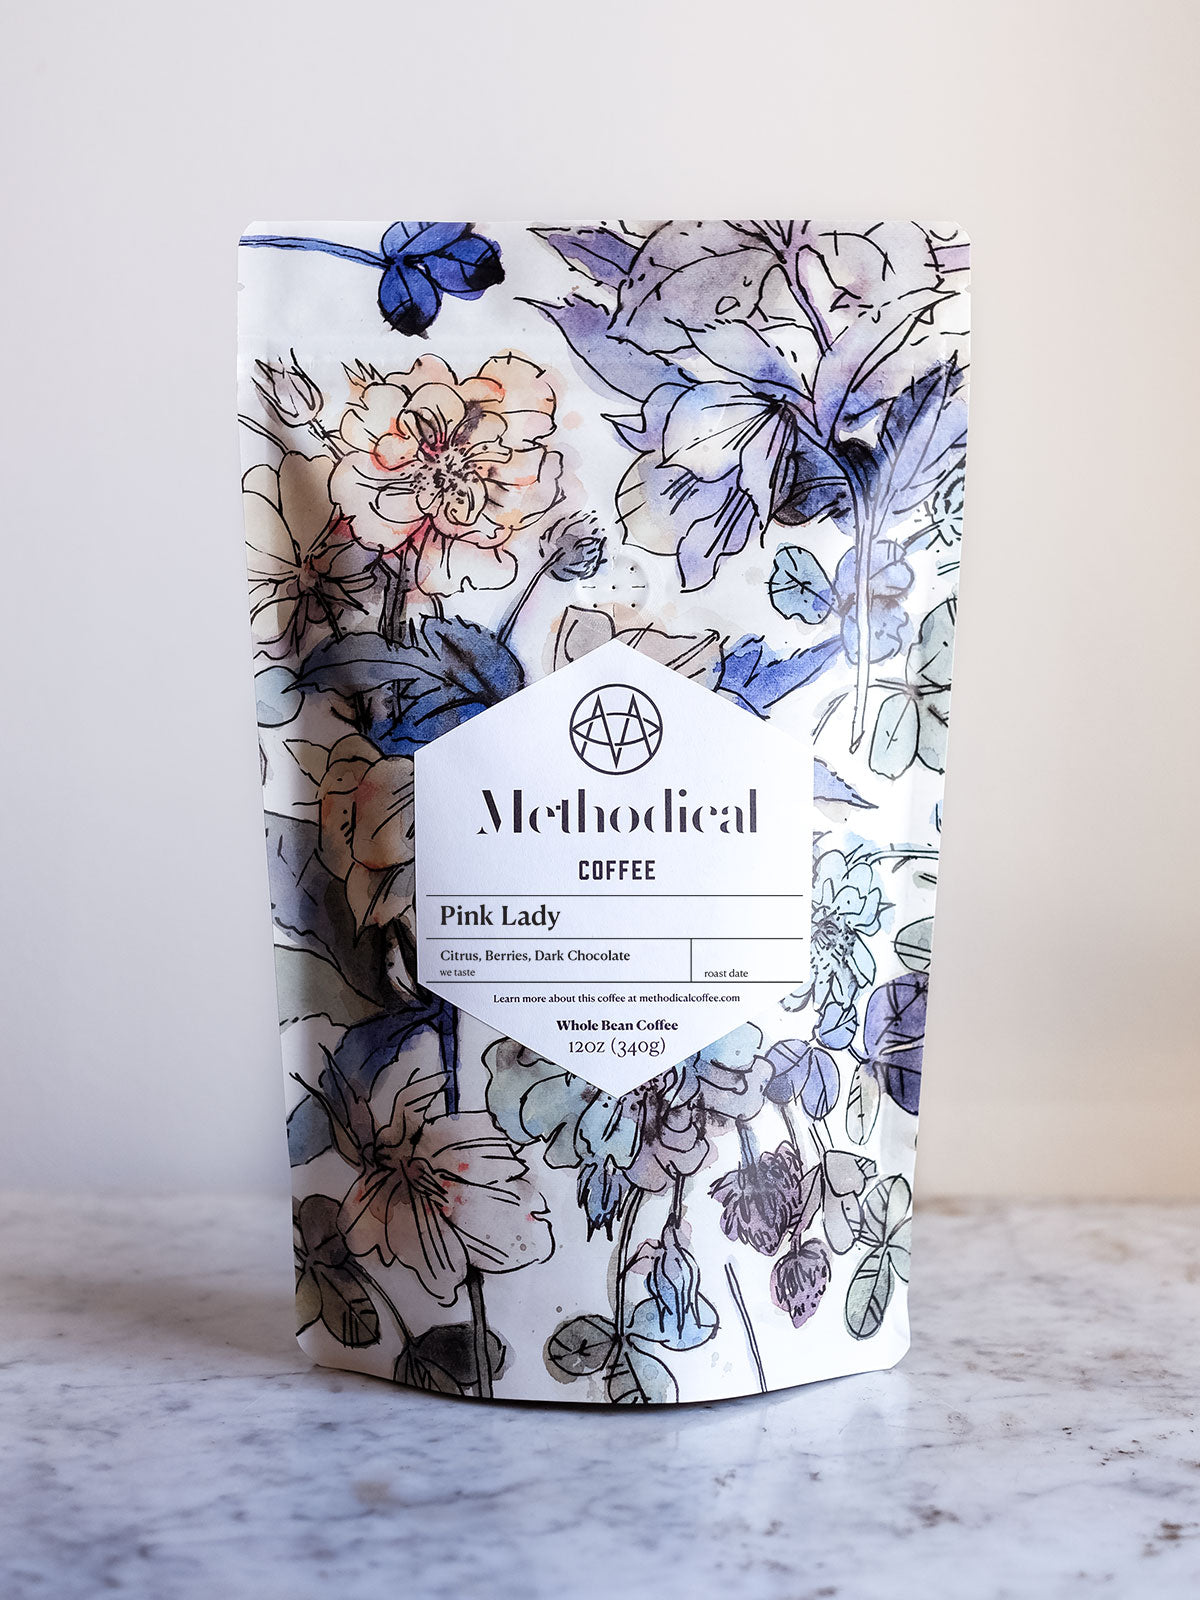
When taking part in a coffee cupping, there are several qualities to look for when evaluating a coffee, these include fragrance, aroma, acidity, body, balance, sweetness, and of course, flavor. These are often scored on a coffee cupping form or written in a coffee journal. To articulate a coffee’s fragrance, aroma, and flavor, we use other foods or things to describe what it is our nose and taste buds are observing. So when you see tasting notes written on a bag of coffee, those aren’t flavors added to the coffee, but simply describe what we think the coffee smells and tastes like. The coffee flavor wheel is a great tool to visualize the spectrum of flavor and fragrance/aroma our bodies can decipher. And if you need help deciphering coffee terms, learn more about reading coffee bags.
Smell
- Fragrance - Fragrance is what a coffee smells like when dry. Coffee is most fragrant just after being ground.
- Aroma - Aroma is what coffee smells like when wet. Coffee is most aromatic as it’s brewing. It’s the best part of waking up.
Taste
- Acidity - Acidity contributes to coffee’s flavor as well as its mouthfeel. Mouthfeel can be described as bright, juicy, or lively. And acidity’s flavor is often described as fruits like lemon, lime, stone fruit, apple, etc. The presence of acid in coffee is not a bad thing as long as it’s balanced.
- Body - Coffee’s body describes the viscosity, heaviness, or richness of a coffee. It could be described as delicate, light, rich, heavy, etc.
- Sweetness - Not all coffees require sugar to taste sweet. Coffee contains sugars that contribute to sweetness though some more than others. Lighter roasted coffees are usually more sweet.
- Balance - Balance is the harmony of all the coffee’s attributes. A balanced cup is when nothing is overwhelming or dominating the cup.
- Flavor - Flavor notes is the most popular descriptor for assessing a coffee because it uses a metric we can all relate to—the taste of other things. When we say a coffee tastes like blueberries, we understand what they mean because we’ve all tasted blueberries. Although, taste is subjective so don’t worry if you don’t taste what other people describe.
Learn more: Single Origins vs. Blends: What's the Difference?
How to do a coffee cupping
Coffee professionals use specialized equipment when conducting a proper coffee cupping such as cupping bowls and cupping spoons. But don’t that deter you from creating your own cupping at home. Just find equipment that’s comparable.
Supplies Needed
- Coffee (no less than 2, preferably at least 3 different coffees)
- Grinder (here are some of our favorite coffee grinders)
- Scale
- Timer
- Bowls / Cups (anything shallow with a wide mouth)
- Hot water
- Cupping spoons (soup spoons)
Coffee cupping steps

Step 1 - Set out and organize all your equipment
Cupping coffees should be a low-stress and zen-like experience so organization is key. Set out three bowls/mugs for each coffee you’ll be cupping. Place the bag of coffee you’re cupping in front of each group of bowls. Fill one of those bowls with hot water. We’ll use this bowl to rinse our cupping spoon so that we don’t mix the coffees during cupping.
Step 2 - Weigh out your coffee
We’re going to be brewing a coffee to water ratio of 1:18. So 1 gram of coffee to every 18 grams of water. We usually brew 10g of coffee for 180ml of water in each bowl.
Step 3 - Grind
Coffee cupping grind size is a medium grind (similar to table salt). Grind a small handful of coffee to purge the grinder of any remaining grinds from previous coffees, and discard. Then grind the coffee for the two bowls. Do this same process for each coffee you’ll be cupping. Learn more about how to grind coffee beans.
Step 4 - Observe the fragrance
Coffee is most fragrant just after grinding. So once all coffees are ground and placed back on the table, go down the line and give each bowl a few good smells. Give the bowls a shake or two to agitate the coffee grounds which helps to release the fragrance. Write down your observations.

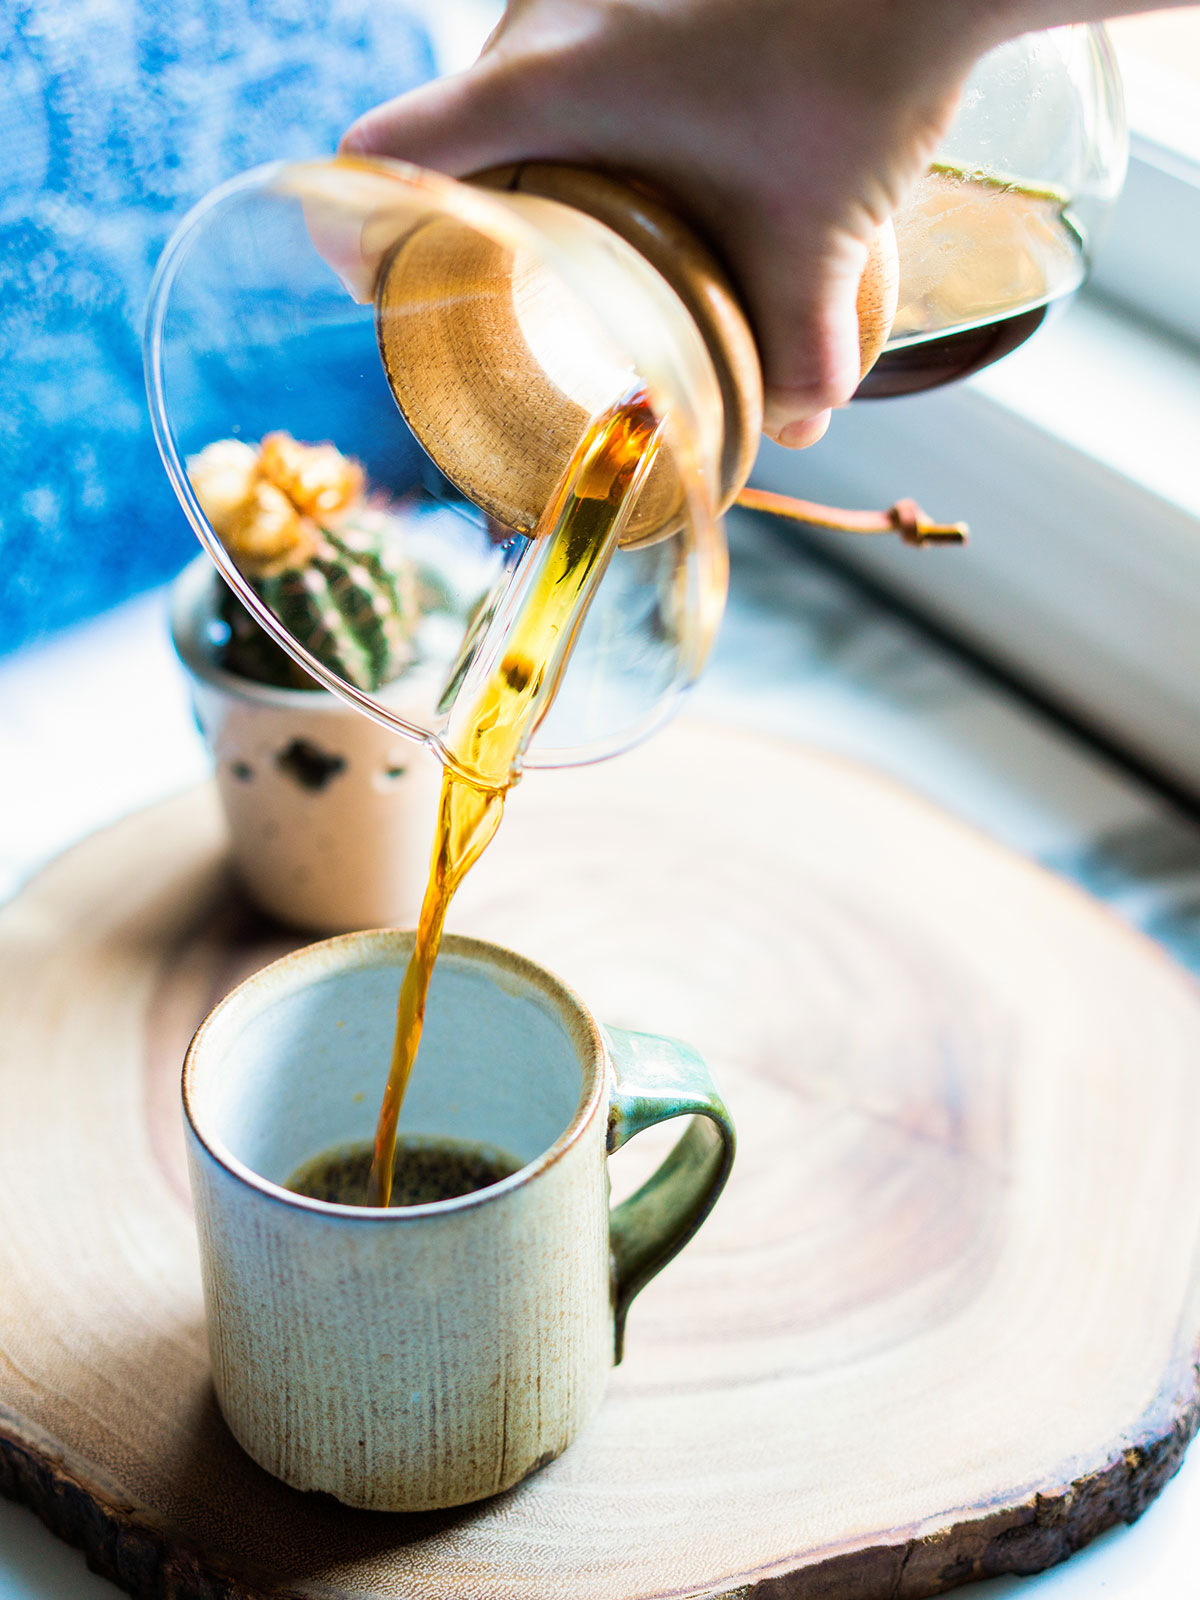
Step 4 - Brew
Coffee cupping doesn’t use any filters. So you’ll be pouring your water right over the coffee grounds within each bowl. Start your timer and fill the water to the brim. We’ll be brewing for 4 minutes.

Step 5 - Break the crust
As your coffee brews, it will form a crust at the surface. After the coffee has brewed for 4 minutes, it’ll be time to break that crust and release the coffee’s aroma. Take your spoon and swipe the crust from front to back three times. Don’t dip your spoon too deep into the bowl. We don’t want to disrupt the grounds that have settled to the bottom. As you do this, get your nose as close to the surface of the coffee as possible to get the most of the aroma. Do this for each bowl, and write down your observations.

Step 6 - Remove the foam
After breaking the crust, there will still be a good amount of foam left on the coffee’s surface. Use two spoons to lightly scrape the foam off the surface and discard. The surface of your cupping bowls should look no different than a normal cup of coffee. Again, be gentle to not disrupt the coffee grounds settled to the bottom.

Step 7 - Taste
Now it’s time to taste the coffee. Dip your spoon just under the surface of the coffee and slurp it hard. Slurping spreads the coffee over your entire palate ensuring it hits every taste bud. If you’re cupping with others and don’t want to spread germs, pour the spoon into a shot glass and slurp from the shot glass. That way your mouth never touches the spoon. Note your observations. Dip your spoon in the bowl containing water to rinse it off before moving onto another coffee.
Step 8 - Taste again
As coffee cools, flavors become more pronounced. So be sure to taste every bowl several times as it cools. And observe the differences between each coffee. Observe the differences in flavor, body, mouthfeel, etc.
Coffee cupping is a great way to build your mental rolodex of coffee’s nuances. Observing a coffee’s fruit notes is easiest when comparing it to a coffee with chocolate notes. And noticing how light a light roast can taste is easiest when comparing it to a dark roast. Above all, have fun! Whether you’re cupping alone or with friends, enjoy the hard work that went into producing each coffee.
If you’re wanting to perform a coffee cupping at home, here are several coffees that are great to start with.