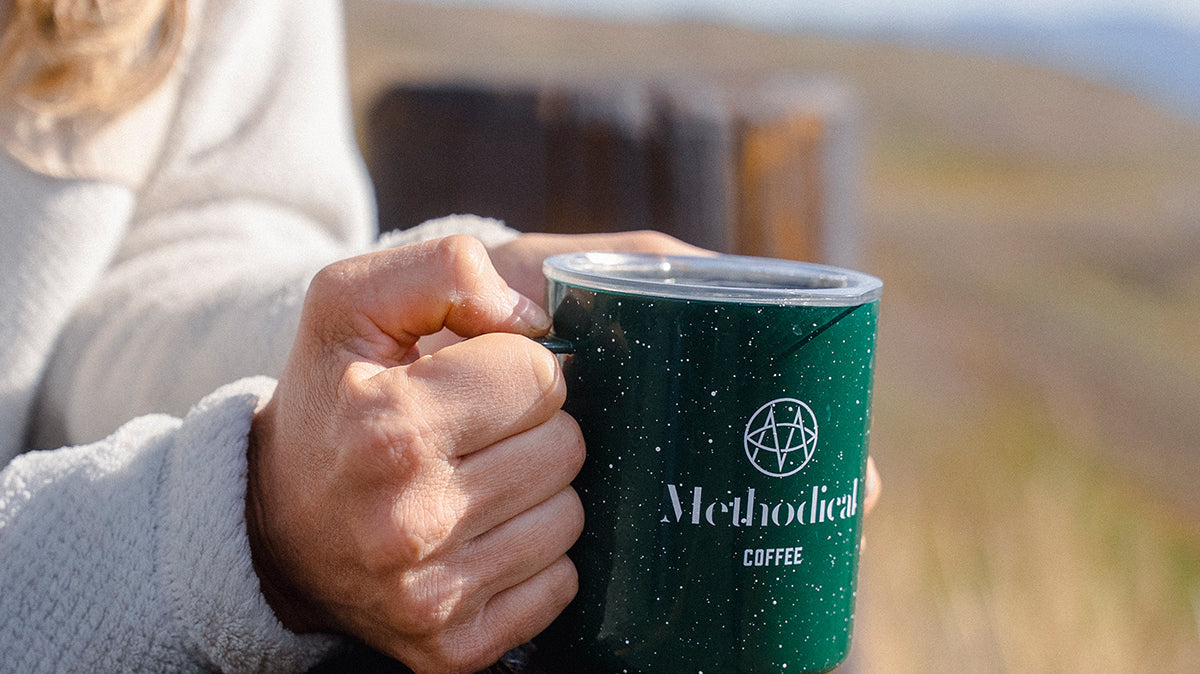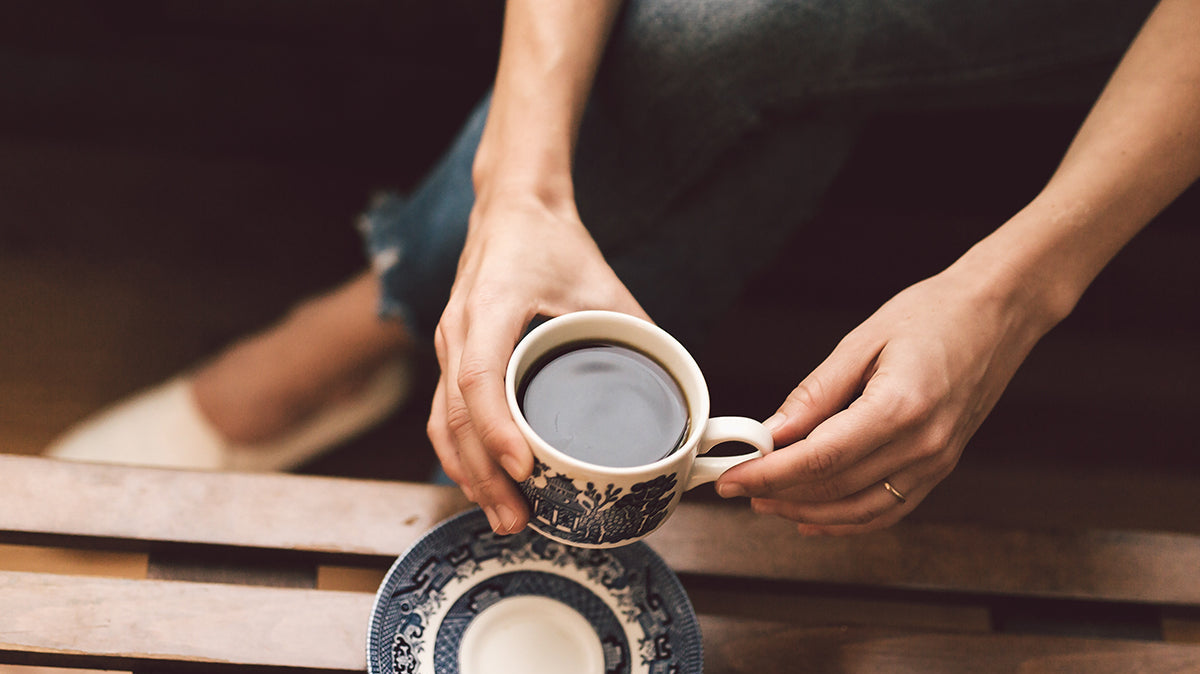


That first morning cup of coffee is a sacred ritual. And that ritual doesn’t have to end when you head into the wilderness. In fact, sipping coffee while the sun rises over your campsite or while mist lingers on the trail can make the experience even more rewarding.
The challenge, of course, is how to brew something that feels like a true specialty cup away from your home setup. Fortunately, there are plenty of ways to balance portability with quality. From ultralight drip bags to portable espresso makers, these camping-ready methods prove you don’t have to compromise on flavor when you’re off the grid.
9 best ways to make coffee while camping
1. Pour over cone
A pour over cone is one of the simplest and most reliable ways to enjoy a clean, nuanced cup of coffee while camping. If you’re a true coffee lover, you’re probably familiar with pour over coffee already. This method uses gravity to pull hot water through a bed of grounds and a filter, highlighting the subtle flavors in the beans.
Check out the Collapsible JavaDrip, a collapsible pour over cone from GSI Outdoors. This is a great option for campers who like to keep it lightweight.
Why it’s great for camping
- Lightweight and compact: Collapsible silicone or ultralight titanium cones take up almost no space in your pack.
- Consistent quality: With a little control over water temperature and pour technique, you can achieve a cup that rivals your kitchen V60.
- Minimal gear required: All you need is the cone, filters, a mug, and hot water.
How to brew
- Heat water to just off boil. Place your filter in the cone, set it over your mug, and give the filter a quick rinse.
- Add about 2-3 tablespoons of ground coffee for a standard mug.
- Slowly pour a little hot water to wet the grounds and let them “bloom” for about 30 seconds.
- Continue pouring in slow circles until your mug is full. Total brew time should be around 3 minutes.
- Remove the cone, pack out the filter and grounds, and enjoy.
2. Travel French press
For a heavier-bodied cup, an insulated French press is hard to beat. Stainless steel designs are durable enough for the outdoors and keep your brew warm longer. You’ll get a robust, full-flavored coffee with natural oils intact. Perfect for campers who like to sip slowly and savor.
Does that sound like you? Then check out the Stanley Boil and Brew French Press. It’s rugged, doubles as a pot, and is designed specifically for camping.
Why it’s great for camping
- Durable and insulated: Stainless steel presses can handle bumps, drops, and the elements while keeping coffee hot.
- Full flavor: The immersion method pulls out rich oils for a bold cup that’s full-bodied and invigorating.
- No filters needed: One less thing to carry and pack out.
How to brew
- Heat water to just off boil and pour into your French press.
- Add 2-3 tablespoons of medium-coarse ground coffee per mug (about 12 oz water).
- Stir, then place the plunger on top without pressing. Let steep for 4 minutes.
- Slowly press down the plunger.
- Pour, sip, and enjoy. Rinse out grounds when you’re ready to clean up, and pack them out.
For a more in-depth guide, check out How to Brew a French Press →
3. AeroPress
The AeroPress has earned cult status among coffee lovers for its versatility and reliability. Compact, nearly indestructible, and easy to clean, it’s one of the best ways to enjoy a smooth, flavorful cup while camping. With a little experimentation, you can brew everything from espresso-style shots to Americanos or even a quick cold brew.
Check out the AeroPress Go, designed specifically for travel. It packs into its own mug and takes up barely any room in your bag.
Why it’s great for camping
- Compact and tough: Made from durable plastic that can withstand being jostled around in a backpack.
- Fast and versatile: Brews in about 2 minutes, with endless recipe variations.
- Easy cleanup: Simply remove the puck of coffee grounds and give it a quick rinse.
How to brew
- Heat water to just off boil.
- Add a filter to the cap, twist it onto the chamber, and place it over your mug.
- Add 2–3 tablespoons of finely ground coffee.
- Pour in hot water up to your desired level (about 8–10 oz). Stir.
- Insert plunger and press slowly until you hear a hiss.
- Pack out the grounds, rinse, and you’re ready for the next round.
Learn more: How to Make Aeropress Coffee →
4. Moka pot
The Moka pot is an Italian classic that delivers a bold, espresso-like cup of coffee. Made of aluminum or stainless steel, it brews by pushing hot water from the bottom chamber up through finely ground coffee. The result is rich, concentrated, and perfect for campers who crave something stronger than a standard cup.
Check out the Bialetti Moka Express, the iconic stovetop espresso maker. Paired with a small camp stove, it’s a fantastic way to bring a little elegance to the outdoors.
Why it’s great for camping
- Strong and flavorful: Produces concentrated coffee similar to espresso.
- Durable: Aluminum and stainless steel versions are tough enough for outdoor cooking.
- Ritual-worthy: The bubbling sound and aroma add a little theater to your morning brew.
How to brew
- Fill the bottom chamber with water up to the safety valve.
- Add finely ground coffee to the filter basket, leveling it off without tamping.
- Assemble the pot and place it on your camp stove or over stable coals.
- Heat until you hear a gentle gurgle and see coffee filling the top chamber.
- Remove from heat, pour, and enjoy. Clean by rinsing with water once cooled.
Learn more: Bialetti Moka Pot Review | MiiR Moka Pot Review
5. Cowboy coffee
Cowboy coffee is the oldest and simplest way to brew outdoors—just grounds, water, and a pot over the fire. While it has a reputation for being rough, with a little care, you can make a bold, satisfying cup that feels perfectly in tune with camp life.
Check out the GSI Outdoors Enamelware Coffee Pot for a sturdy, traditional vessel that doubles as a campfire classic.
Why it’s great for camping
- No special gear: All you need is a pot, water, and grounds.
- Perfectly rustic: Nothing pairs with a campfire like a mug of smoky cowboy coffee.
- Brews for a crowd: Make one big pot and share with your group.
How to brew
- Fill your pot with water and bring it to a boil over the fire or camp stove.
- Remove from heat and add about 2 tablespoons of ground coffee per mug of water.
- Stir, then let it steep for 3-4 minutes.
- Sprinkle in a splash of cold water to help the grounds settle.
- Pour slowly into mugs to avoid stirring up the grounds.
6. Specialty instant coffee
Instant coffee has come a long way from the bitter, chalky packets you might remember. Today’s specialty instant options capture much of the flavor and character of freshly brewed coffee in a lightweight, portable package. All you need is hot water, and you’ve got a surprisingly satisfying cup.
Why it’s great for camping
- Lightweight and packable: Single-serve packets weigh next to nothing.
- No cleanup: Just empty the packet and add water! No filters or grounds to manage.
- Fast: Ideal for early mornings or quick breaks on the trail.
How to brew
- Heat water to just off boil.
- Empty one packet of instant coffee into your mug.
- Add about 8–10 oz of hot water and stir until dissolved.
7. Percolator
Few coffee brewing methods are more iconic for camping than the percolator. This stovetop brewer cycles hot water up through a central tube, filtering it repeatedly through the grounds to create a bold, roasty cup. It’s not the most refined method, but it carries nostalgia and produces enough coffee for the whole campsite.
Check out the Coleman 12-Cup Stainless Steel Percolator, a rugged, group-friendly option built for the outdoors.
Why it’s great for camping
- Brews for a group: Large capacity makes it ideal for families or groups of campers.
- Durable build: Stainless steel models are extremely durable.
- Classic camp feel: Nothing says “morning at camp” like the bubbling of a percolator over the fire.
How to brew
- Fill the bottom chamber with water up to the fill line.
- Add medium-ground coffee (about 2 tablespoons per cup of water) to the filter basket.
- Assemble the percolator and place it on your camp stove or over coals.
- Heat until it starts to percolate. Watch for bubbling in the glass knob.
- Brew for 7-10 minutes, depending on your desired strength, then remove from heat and serve.
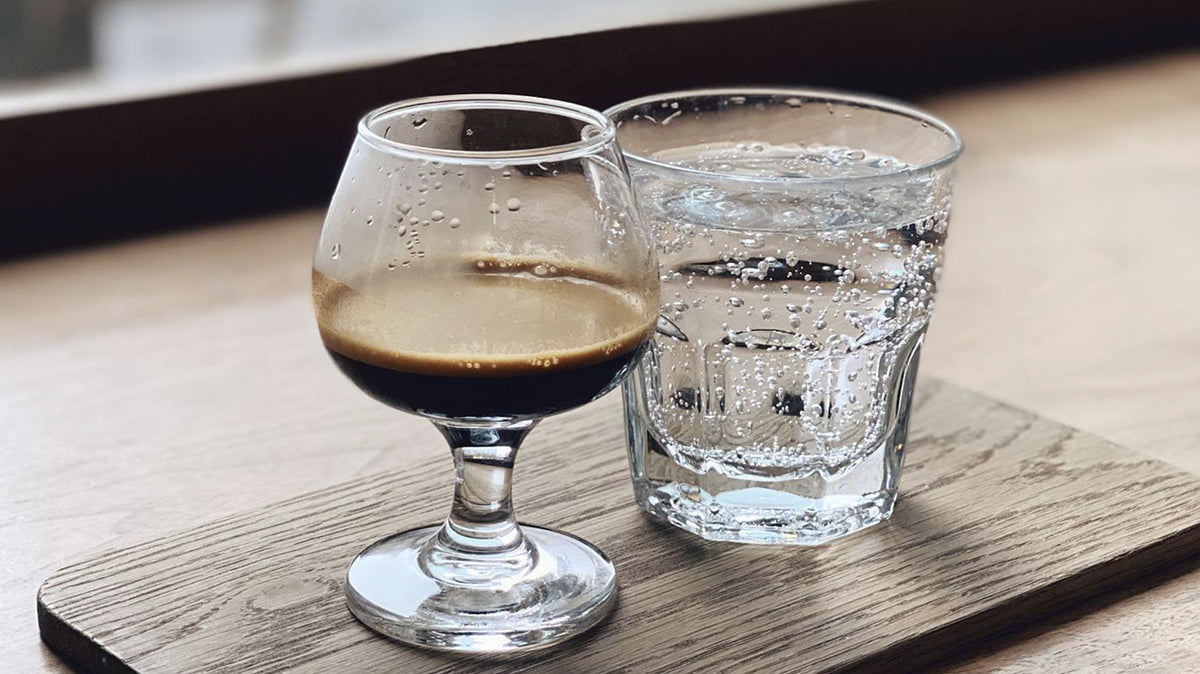
8. Portable espresso maker
For coffee lovers who can’t go without their daily shot, a portable espresso maker is the ultimate trail companion. These compact, hand-pump devices deliver true espresso wherever you set up camp. It takes a bit more effort than other methods, but the payoff is a rich, concentrated shot you’d expect from your favorite cafe.
Check out the Wacaco Nanopresso, a favorite among travelers and campers alike for the quality espresso it brews on the go.
Why it’s great for camping
- True espresso outdoors: Delivers a strong, crema-topped shot without electricity.
- Compact and rugged: Lightweight plastic and metal build stands up to travel.
- Specialty-worthy: Ideal for coffee lovers who want no compromises, even off-grid.
How to brew
- Fill the water chamber with hot water.
- Add finely ground coffee (about 18 g, or 2 scoops) to the portafilter.
- Lock everything in place and pump the machine to build pressure.
- Continue pumping until espresso fills your cup.
- Knock out the puck, rinse, and you’re done.
9. Drip coffee bags
Drip coffee bags are the perfect middle ground between pour-over quality and instant convenience. Each packet contains pre-ground coffee inside a disposable filter that hooks onto your mug.
Check out our single-serve pour-over bags, designed for the trail and easily packable into any camping kit.
Why it’s great for camping
- Lightweight and packable: Individually sealed bags take up almost no space.
- Easy and fast: No measuring, no grinder—just open, anchor, and pour.
- Minimal cleanup: Toss the bag when you’re done (pack it out, of course).
How to brew
- Tear open a packet and set the drip bag over your mug.
- Slowly pour hot water over the grounds, letting it drip through.
- Fill to your desired amount (usually 8-10 oz).
- Remove the bag, pack it out, and enjoy a fresh cup.
How to choose the right setup
With so many ways to brew coffee outdoors, the best setup for you depends on your camping style and taste preferences. Here are a few things to consider before packing your gear.
Trip style
- Backpacking: Weight and space are at a premium. Go for ultralight options like drip bags, specialty instant, or a collapsible pour-over cone.
- Car camping: You can bring bulkier gear without worry. A French press, percolator, or Moka pot makes mornings feel more like home.
- Site camping: Ultimately up to you and how important your morning cup is.
Brew preference
- Clean and nuanced: Pour-over cones and drip bags highlight subtle flavors.
- Rich and full-bodied: French press or cowboy coffee delivers boldness and texture.
- Strong and concentrated: Moka pots and portable espresso makers scratch that espresso itch.
Group size
- Solo campers: AeroPress, drip bags, or instant keep it simple.
- Groups or families: Percolators and large French presses brew plenty to share.
Tips for better specialty coffee outdoors
Even with the right gear, a few small adjustments can make a big difference in how your coffee tastes at camp.
Grind fresh when possible
A hand grinder may feel like extra weight, but grinding right before you brew keeps flavors vibrant. If that’s not practical, pre-grind at home and store in airtight bags or containers.
Learn more: Manual vs. Electric Coffee Grinders: Which One is Right for You?
Pre-measure your grounds
Save time and hassle by portioning your coffee into single-brew servings before you leave. It keeps your ratios consistent and makes brewing at dawn much easier.
Mind your water
Coffee is mostly water, so its quality matters. If the local source tastes off, use a portable filter or bring water from home. Cleaner water means a cleaner cup.
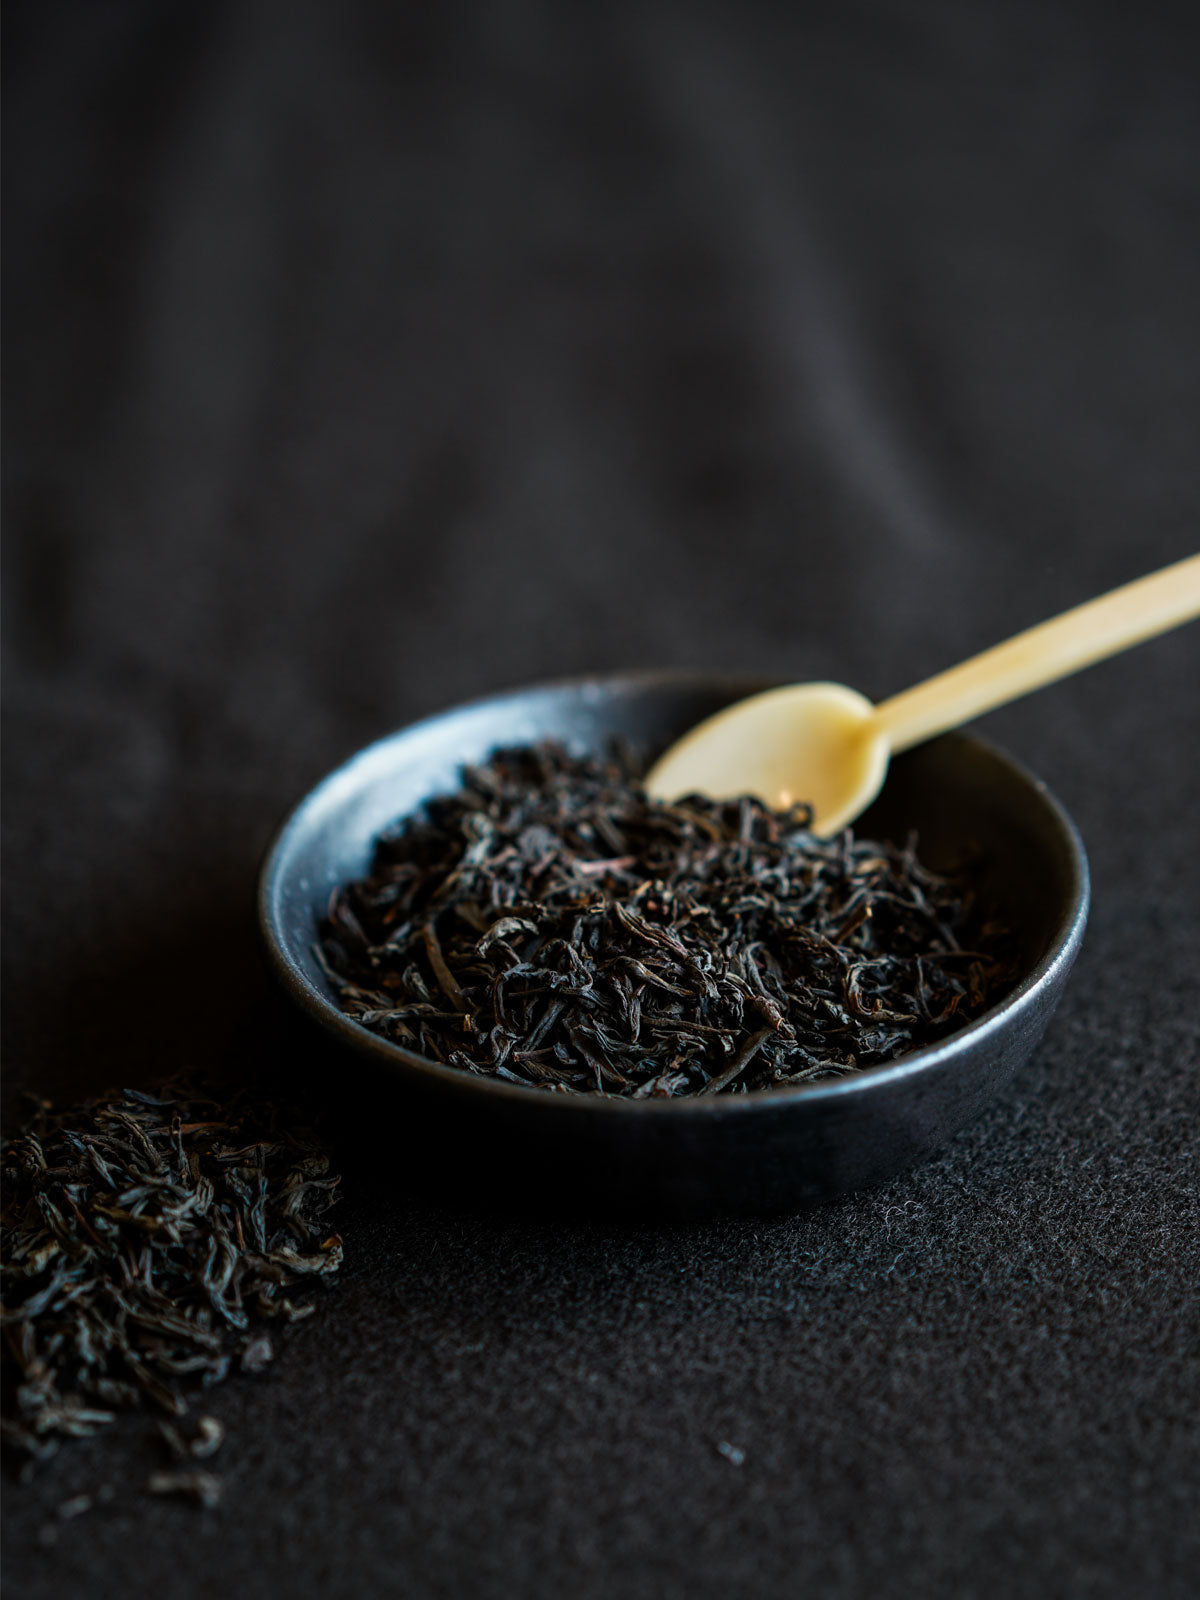
Protect your beans
Heat, light, and moisture degrade coffee quickly. Pack beans or grounds in airtight, sealed containers, ideally tucked into your food bag for extra protection.
Don’t skimp on quality
Camping coffee doesn’t have to be rough-and-ready. Bring beans you’d brew at home so your outdoor cup feels just as special as your morning ritual in the kitchen.
Great coffee anywhere you roam
Camping doesn’t mean giving up on good coffee. With the right setup and the right coffee beans, you can brew a cup outdoors that rivals anything you’d make at home. You might even discover a new favorite brewing method on your next camping trip.
The gear matters, but the beans matter more. The next time you pack for an adventure, don’t forget to bring along your favorite Methodical beans. We’ve got a variety of blends and single-origin roasts delicious enough to become staples in your backpack and your kitchen.
See how to build your travel coffee kit →
You might also like:
- Coffee-to-Water Ratio: The Ultimate Guide to Brewing Ratios
- Health Benefits of Coffee: Why Your Morning Brew is Better Than You Think
- 6 Benefits of Drinking Coffee Before Working Out
- How to Make Great Cup of Coffee